So I was pretty depressed about breaking the PCB and I went ahead and ordered a bunch more just in case but then I just let it sit for a day or so. Went back to it yesterday and decided that I should be able to glue the board back together. Did that and it turned out OK. Seems to be holding and I 'think' that I can still solder properly. Right now I need some 30ga wire so I'm going to stop by radio scrap to see if they have any. Not sure where else might have it in town (wally world?) Once I get that then I'll attempt to solder by the broken part and see if it works... fingers crossed.
Other than that not much progress.I am going with running wires instead of long solder traces... its just plain easier. I have copper wire and something else (same stuff I used on the cube) so the positive and ground wires will be 2 different colors of bare wire. Just to make it easier to tell them apart.
Think I need some solder wick too... hoping to get that tomorrow.
Friday, September 30, 2011
Wednesday, September 28, 2011
DISASTER!
I broke the PCB I was working on (the nice pictures you see below). Don't think I can salvage it. Guess I will desolder everything and start over. Wish I hadn't cheaped out and only bought the number of PCBs I needed. Took way too long to get these... :(
Saturday, September 24, 2011
Circuit Board started...
Here are a couple of quick shots of the progress on the first circuit board:


Time for bed
p.s. Sorry for the crappy pictures, I didn't realize the camera was doing that... they look reasonable when they are small. The next set of pictures I take will be better.


Time for bed
p.s. Sorry for the crappy pictures, I didn't realize the camera was doing that... they look reasonable when they are small. The next set of pictures I take will be better.
Whats Next?
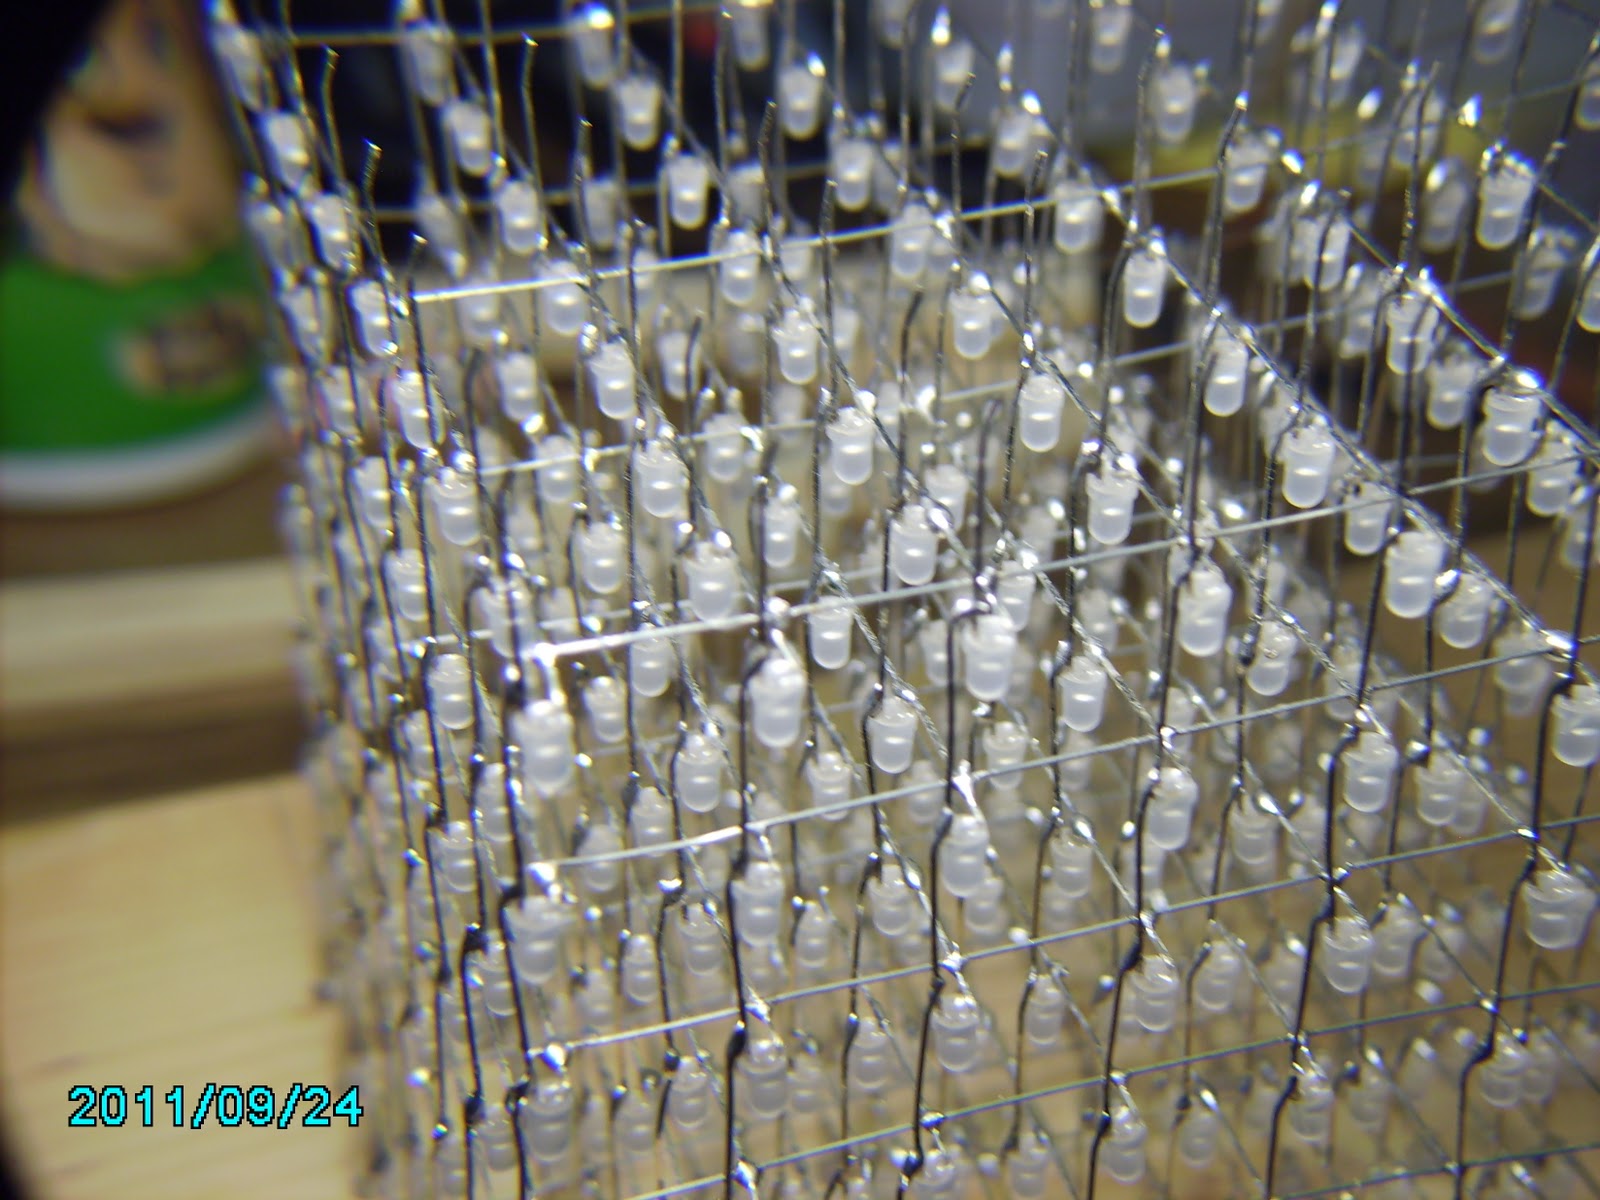
Whoo Hoo! I've got all 8 layers soldered together. It looks really cool and is super stable. It was a lot of fun to build. Here is a picture:


The rest of the parts arrived, here is a shot of them:

I also put together the USBTinyISP device. I didn't take any pictures of it so if you want to see some just take a glance at the instructions I followed, they have tons of pictures and mine look very similar (only a little 'cleaner') ;) : http://www.ladyada.net/make/usbtinyisp/solder.html
Next I guess I'll start working on the electronics for the cube itself. I'll post pictures of that as I make progress.
This is the most fun I've had with electronics in a long time.
Friday, September 23, 2011
Stacking, stacking, stacking, stacking...
I'm up to 4 layers stacked together. 4 more to go...those are the spacers I'm using (took way too long to make those just the right size...
I will continue working today and see how far I get.


I will continue working today and see how far I get.


Stacking started
Got 2 layers joined, and yes K.H. it seems to be very stable. Having a really good time with this.
I decided to do a little math. Each layer contains 64 LEDs and 2 'braces' for a total of 80 solder joints. There are 8 layers for a total of 640 solder joints. Each layer must be soldered to the one below (or above depending on your viewpoint) for a total of 64 solder joints per layer for a total of 512 solder joints (I'm including the solder to the wire that goes to the circuit board). For a grand total of 1152 solder joints.
That's not counting the soldering that I will have to do for the circuit board :)
And yes, I'm testing the layers as they get attached, I make sure the whole column light up... so far so good.
Where are the rest of my parts???!!!
Now I have to go to bed because I have to work tomorrow... wish I could stay here and solder the rest of the layers.
Thursday, September 22, 2011
Bending Pins
I'm starting to work on getting the layers stacked, and the hardest part is getting the spacing correct. I'm going to use little wooden pieces to separate the layers because my pins are a lot shorter than the ones from the instructions. I've cut maybe 30 of them so far and I think I finally got the spacing right.
Now I have to bend all the pins over just a little so the layers can join. To get the bend, I took a hardwood dowel and drilled the smallest hole I could into it a couple mm deep. Then I put the layer back in the soldering jig and support the side of the wire with one of the spacing pieces. I put the dowel on the wire and bend in the direction I want. It goes really fast because I put the hole as close to center I could which makes it easy to line up.
I'm bending all layers before I start soldering and while I have it in the jig, I'm retesting each LED to make sure its as bright as the others (or at least very close). So far I've only found one dim one so I replaced it.
Still waiting on parts. Some came today but no one was home and it has to be signed for so I'll have whatever that is tomorrow (I suspect it is the circuit boards).
After all the layers are soldered together I'm going to work on the USPtinyISP kit.
Haven't figure out what I'm going to mount the cube to yet, however, I am leaning towards mounting it in the template as soon as I clean it up a bit and maybe router out the bottom a little so the wires will poke through.
I will continue progress updates as I have them :)
Wednesday, September 21, 2011
Still moving right along
Currently have 7 of 8 layers done, will most likely do the final layer today. Then its time to start stacking.
Got the Panavise today. Its not as robust as the ones I used @ skewl but it should do the job. Thinking I should have gotten the suction base or something... might mount it to a board that I can clamp to my desk... don't know yet.
Still waiting on most of the electronics parts... will have to check to see where those are :)
Sunday, September 18, 2011
Lots of progress
I made a lot of progress today. I've got a full 5 layers made... 320 LEDs soldered!
I made a short video just so you can see the trouble I go through when working on each layer. Video can be found here: http://vimeo.com/29242667
Depending on how the week goes, I should be able to have all the LEDs soldered and the cube itself made by the weekend but we will see. For now, I'm tired and its time to go to bed. :)
Saturday, September 17, 2011
LED Layer 1 Complete
It is very fine work and at times it is hard to keep the LEDs in line but I was able to complete layer one. maybe I should have practiced a little before moving forward but what I figured it doesn't have to be perfect just reasonably nice.
I bought a new solder iron stand. The one I had was just the cheap little aluminum one that you lay it on the desk... wasn't comfortable with that thought. Bought one at Radio Scrap for about $9 but my iron didn't quite fit it so I used a grinding wheel to make the hole a little bigger... works great now. Also picked up an 8oz spool of 60/40 rosin core solder (.032" diameter). That should be more than enough for the next 100 years... unless I decide to finish my electronics degree and then start making cool stuff left and right... hmmmm... thats a thought. :)
Here are a couple of pictures of the first layer... just 7 more to go, although depending on how the others go I might make an extra layer to replace my first one :)


Work has begun!
I made the LED template, drilled all 64 holes with a 1/8" brad point bit. That made it really easy to get it centered on the grid.
I started soldering the LEDs together... man they are tiny. 3mm is a lot smaller than I thought and my fingers are not exactly small so its a little hard to work with. I've got 22 of the 64 LEDs in place for the first layer. Still have to figure out where I'm going to put the layers as I get them done. But I'm very happy with the progress I've made so far.
Ordered a Panavise 201 today, should have done that a long time ago but was just always too cheap to do it. Now I 'need' it in order to build this thing and the supporting equipment (USBTinyISP).
This is going to be one really fun project... wish you were here :)
Thursday, September 15, 2011
LED Parts starting to arrive
The parts are starting to come in... I bought the 3mm LEDs and they are a bit smaller than I envisioned... not sure if I'll keep using them but we'll see.
Not sure if I should start by putting the USBtinyISP together or if I should start with the LEDs... decisions, decisions.

Not sure if I should start by putting the USBtinyISP together or if I should start with the LEDs... decisions, decisions.

Saturday, September 3, 2011
LED Parts Ordered
I went ahead and ordered the parts for the 8x8x8 LED cube. Missing one or two pieces yet put otherwise I have everything set. Will take a couple of weeks to get everything as I ordered some from China :)
Now I just need to start preparing the work area and other things...
Wish me luck!
Now I just need to start preparing the work area and other things...
Wish me luck!
Subscribe to:
Posts (Atom)