Saturday, October 8, 2011

Some Progress

I got the majority of the wires in place... have maybe 8 left then I think I have to mount a couple caps, LEDs and resistors then I can start on the other board... still have a lot of work to do but at least its moving along again.

Friday, October 7, 2011

Not much progress

Have been pretty burnt out from work so I haven't done much on the cube.  Will fix that this weekend :)

Here are a couple of pictures of the circuit board in its current state.  As you can see, I've started putting on the wires... there will be 56 of them.  Also got the solder braid and cleaned up the spots that bugged me.

If you look closely on the right of the picture you can see where I glued the circuit board.  Its holding nicely so I'm continuing on.


Talked to one of my friends today (hi Jon!) and he gave me some good ideas on the base so I will be exploring that.  He also sent some links to interesting things...  One for a power module that might actually work out for my cube so I'll probably buy a couple just for fun (http://www.pololu.com/catalog/product/2110) and a couple of videos related to an astromech project that he is working on... Not sure I'm willing to take on a project like that but it sure looks cool.  Maybe next year? :)

Update:  HOLY COW the shipping is expensive on those Pololu things... $18 for 2 $15 parts... wtf

Sunday, October 2, 2011

Slow Progress

It appears that the glue I used is holding so we should be good.  I'm continuing on with the board.

I forgot how much detail work there is in soldering.  Lots of tiny little solder joints not to mention tiny wires.  I have to put on 72 wires yet.  Not really looking forward to it but it has to be done or I'll never get the board done.  The board I'm working on right now is the one that connects to the LEDs and even if I was using an arduino I would have to have this board... ah well.  It is what it is.

I think I have all the parts I need, the only thing I need yet is some solder braid to wick out some mistakes... but I can probably live without it...

On a side note, I would not recommend getting the PanaVise Jr.  It does the job but just barely.  I should have sprung for the full Panavise... it was only 3x the price... :)

Friday, September 30, 2011

Disaster maybe averted

So I was pretty depressed about breaking the PCB and I went ahead and ordered a bunch more just in case but then I just let it sit for a day or so.  Went back to it yesterday and decided that I should be able to glue the board back together.  Did that and it turned out OK.  Seems to be holding and I 'think' that I can still solder properly.  Right now I need some 30ga wire so I'm going to stop by radio scrap to see if they have any.  Not sure where else might have it in town (wally world?)  Once I get that then I'll attempt to solder by the broken part and see if it works... fingers crossed.

Other than that not much progress.I am going with running wires instead of long solder traces... its just plain easier.  I have copper wire and something else (same stuff I used on the cube) so the positive and ground wires will be 2 different colors of bare wire.  Just to make it easier to tell them apart.

Think I need some solder wick too... hoping to get that tomorrow.

Wednesday, September 28, 2011

DISASTER!

I broke the PCB I was working on (the nice pictures you see below).  Don't think I can salvage it.  Guess I will desolder everything and start over.  Wish I hadn't cheaped out and only bought the number of PCBs I needed.  Took way too long to get these... :(

Saturday, September 24, 2011

Circuit Board started...

Here are a couple of quick shots of the progress on the first circuit board:


Time for bed

p.s.  Sorry for the crappy pictures, I didn't realize the camera was doing that... they look reasonable when they are small.  The next set of pictures I take will be better.

Whats Next?

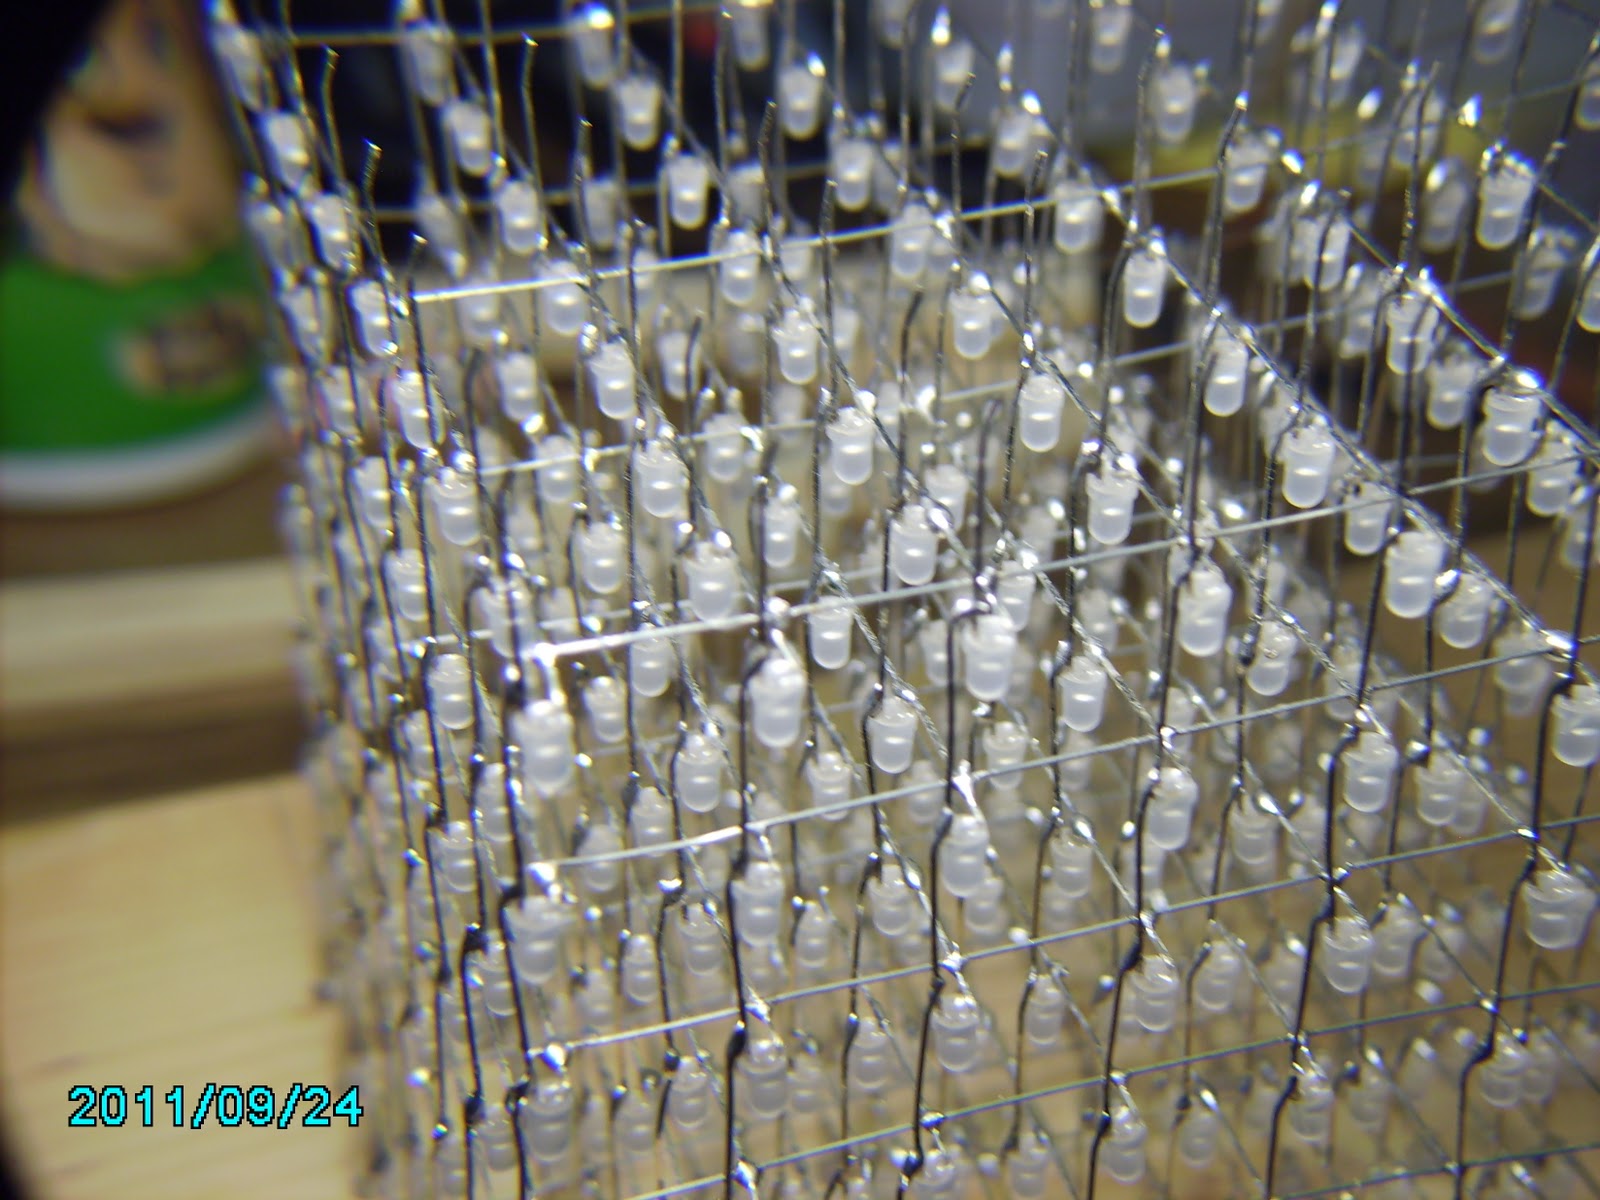
Whoo Hoo!  I've got all 8 layers soldered together.  It looks really cool and is super stable.  It was a lot of fun to build.  Here is a picture:


The rest of the parts arrived, here is a shot of them:


I also put together the USBTinyISP device.  I didn't take any pictures of it so if you want to see some just take a glance at the instructions I followed, they have tons of pictures and mine look very similar (only a little 'cleaner') ;) :  http://www.ladyada.net/make/usbtinyisp/solder.html

Next I guess I'll start working on the electronics for the cube itself.  I'll post pictures of that as I make progress.

This is the most fun I've had with electronics in a long time.
Copyright Realm Laboratories, LLC